
Have you ever wondered if a kitchen appliance like the Instant Pot Pro Plus needs a professional to install it?
Introduction to Instant Pot Pro Plus
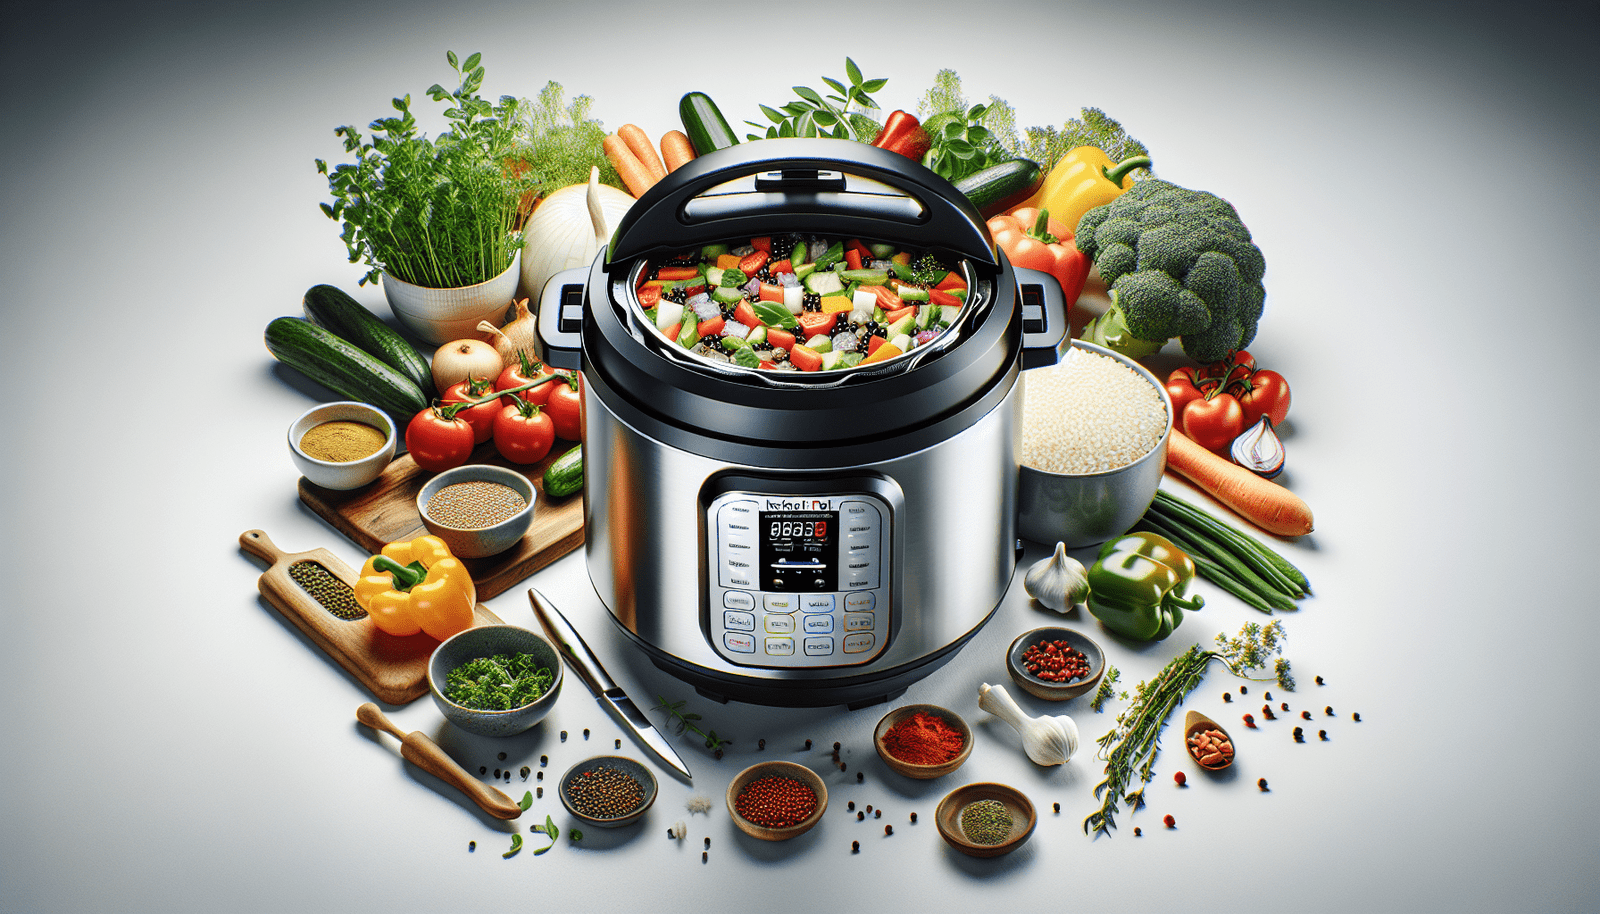
The Instant Pot Pro Plus is a modern kitchen marvel designed to simplify cooking and enhance your culinary experience. With multiple cooking functions, including pressure cooking, slow cooking, and sautéing, many find it to be an invaluable addition to their kitchen. But does the prospect of installation intimidate you? Fear not! Let’s break it down.
Understanding the Basics of Installation
What Does Installation Mean for Kitchen Appliances?
When we talk about installation, especially in the context of kitchen appliances, it usually refers to setting up the appliance for use. This can range from unboxing and plugging it in to more complex setups involving plumbing or electrical connections. In the case of the Instant Pot Pro Plus, the setup is straightforward.
Key Components of the Instant Pot Pro Plus
The Instant Pot Pro Plus consists of a main unit and essential accessories, which include:
| Component | Description |
|---|---|
| Main Unit | The cooking pot with built-in control panel. |
| Lid | The sealing lid that helps trap steam. |
| Inner Pot | The stainless-steel insert for cooking. |
| Accessories | Steamer rack, measuring cup, and ladle. |
Understanding these components can help you see just how simple the setup can be.
Do You Need Professional Installation?
The Short Answer: No
You might be relieved to know that you don’t need professional installation for the Instant Pot Pro Plus. The design is user-friendly, allowing you to start cooking almost immediately after unboxing it.
Why You Don’t Need a Technician
Here are some reasons why the Instant Pot Pro Plus is designed for easy setup:
- Plug-and-Play Design: Simply plug it into an electrical outlet, and you’re ready to go.
- Intuitive Controls: The control panel is designed for easy navigation through the cooking settings.
- No Assembly Required: Unlike some other kitchen appliances, the Instant Pot comes nearly ready for use with no assembly necessary.
Getting Started with Your Instant Pot Pro Plus
Unboxing Your Appliance
Once you receive your Instant Pot Pro Plus, the first step is to unbox it. Here are a few things to keep in mind:
- Check for Accessories: Ensure all parts are included as per the instruction manual.
- Inspect for Damage: Look for any damages that may have occurred during shipping.
Setting Up the Instant Pot
Setting up the Instant Pot Pro Plus is as easy as 1-2-3:
- Place the Unit on a Flat Surface: Ensure there’s enough space around the unit for ventilation.
- Insert the Inner Pot: Place the inner pot into the main unit.
- Attach the Lid: Ensure the lid is locked in place with the steam release valve in the venting position.
Preparing to Cook
Before you start your cooking journey, perform a quick water test to familiarize yourself with the pressure cooking feature. Here’s how:
- Add Water: Pour in 3 cups of water.
- Close the Lid: Lock it in place.
- Select Pressure Cook: Set it to high pressure for 2 minutes and start.
This will help you understand the sounds and functions of the Instant Pot.
Safety Features of the Instant Pot Pro Plus
The Importance of Safety First
It’s essential to be aware of the safety features of the Instant Pot, especially if you’re new to pressure cooking. With proper understanding, you can cook with confidence.
Key Safety Features
Here are some vital safety features built into the Instant Pot Pro Plus:
| Safety Feature | Description |
|---|---|
| Safety Lock | Prevents the lid from being opened while pressurized. |
| Overheat Protection | Automatically shuts off when the unit gets too hot. |
| Pressure Regulator | Regulates steam pressure and maintains it within safe limits. |
| Steam Release Valve | Allows you to safely release steam after cooking. |
Familiarizing yourself with these features ensures a safer cooking experience.
Troubleshooting Common Issues
What If Things Don’t Go as Planned?
Even with all its innovative features, you might encounter minor challenges while using your Instant Pot Pro Plus. Let’s discuss some common issues and how to troubleshoot them.
| Issue | Solution |
|---|---|
| Lid Won’t Seal | Check the sealing ring for wear or misalignment. |
| Display Not Turning On | Ensure it’s plugged in and the outlet is functional. |
| Burn Notice Appears | Check that there’s enough liquid in the pot. |
| Steam Leakage | Ensure the sealing ring is properly in place. |
Most issues have simple solutions. Knowing these can save you time and frustration in the kitchen.
Cleaning and Maintenance
Keeping Your Instant Pot Pro Plus in Top Condition
Regular cleaning and maintenance of your Instant Pot are crucial for its longevity and optimal performance. Here’s what you need to do:
- Cleaning the Inner Pot: The inner pot is dishwasher safe, making cleanup a breeze.
- Inspecting the Sealing Ring: Make sure to check the sealing ring regularly for any signs of wear.
- Wiping Down the Exterior: Use a damp cloth to wipe the exterior of the unit after use.
Troublesome Odors
You might find that your Instant Pot retains odors from strong-smelling foods. A simple solution is to run a mixture of water and vinegar through the unit. This can help neutralize smells and keep your appliance fresh.
Recipes to Try in Your Instant Pot Pro Plus
Getting Creative with Your Cooking
Once you’ve mastered the setup, it’s time to explore delicious recipes that highlight the capabilities of your Instant Pot Pro Plus. Here are some popular dishes to get you started:
Classic Beef Stew
This hearty dish is perfect for family dinners. Here’s a simple recipe you can try:
Ingredients:
- 2 lbs beef stew meat
- 4 cups potatoes, cubed
- 3 carrots, sliced
- 1 onion, chopped
- 3 cups beef broth
- Salt and pepper to taste
Instructions:
- Sauté onions and beef in the Instant Pot.
- Add vegetables and broth, then seal the lid.
- Cook on high pressure for 30 minutes.
Creamy Risotto
Risotto is often labor-intensive, but not in the Instant Pot. Here’s a basic recipe for you:
Ingredients:
- 1 cup Arborio rice
- 4 cups chicken stock
- 1 cup white wine
- 1 onion, diced
- 2 cloves garlic, minced
- Parmesan cheese to taste
Instructions:
- Sauté onions and garlic in the Instant Pot.
- Add rice and toast for a minute.
- Pour in wine and cook for 2 minutes.
- Add stock and cook on high pressure for 6 minutes.
These recipes only scratch the surface—your Instant Pot is capable of countless culinary delights.
Tips for Maximizing Your Instant Pot Experience
Enhancing Your Cooking Skills
To truly get the best out of your Instant Pot Pro Plus, consider these handy tips:
- Use Fresh Ingredients: Fresh produce can elevate your dishes.
- Experiment with Recipes: Don’t be afraid to modify existing recipes to suit your taste.
- Learn About Different Settings: Understanding various cooking functions can expand your meal options.
Joining the Instant Pot Community
Connecting with fellow Instant Pot users can offer you inspiration and support. Most communities share tips, recipes, and advice on troubleshooting.
Conclusion
Isn’t it great to know that the Instant Pot Pro Plus is designed for anyone to use without the need for professional installation? As you settle into your cooking routine, keep experimenting with different recipes and making adjustments along the way.
With its user-friendly design, impressive safety features, and a world of culinary possibilities, the Instant Pot Pro Plus is a fantastic investment for anyone who loves to cook!
So, are you ready to unleash your culinary creativity with your new Instant Pot Pro Plus? Happy cooking!